
 Play And Learn
 Manopole Ricambi D'epoca
 Kong Lelut
 Real Estate
 Nelly De Vuyst®
Sale!
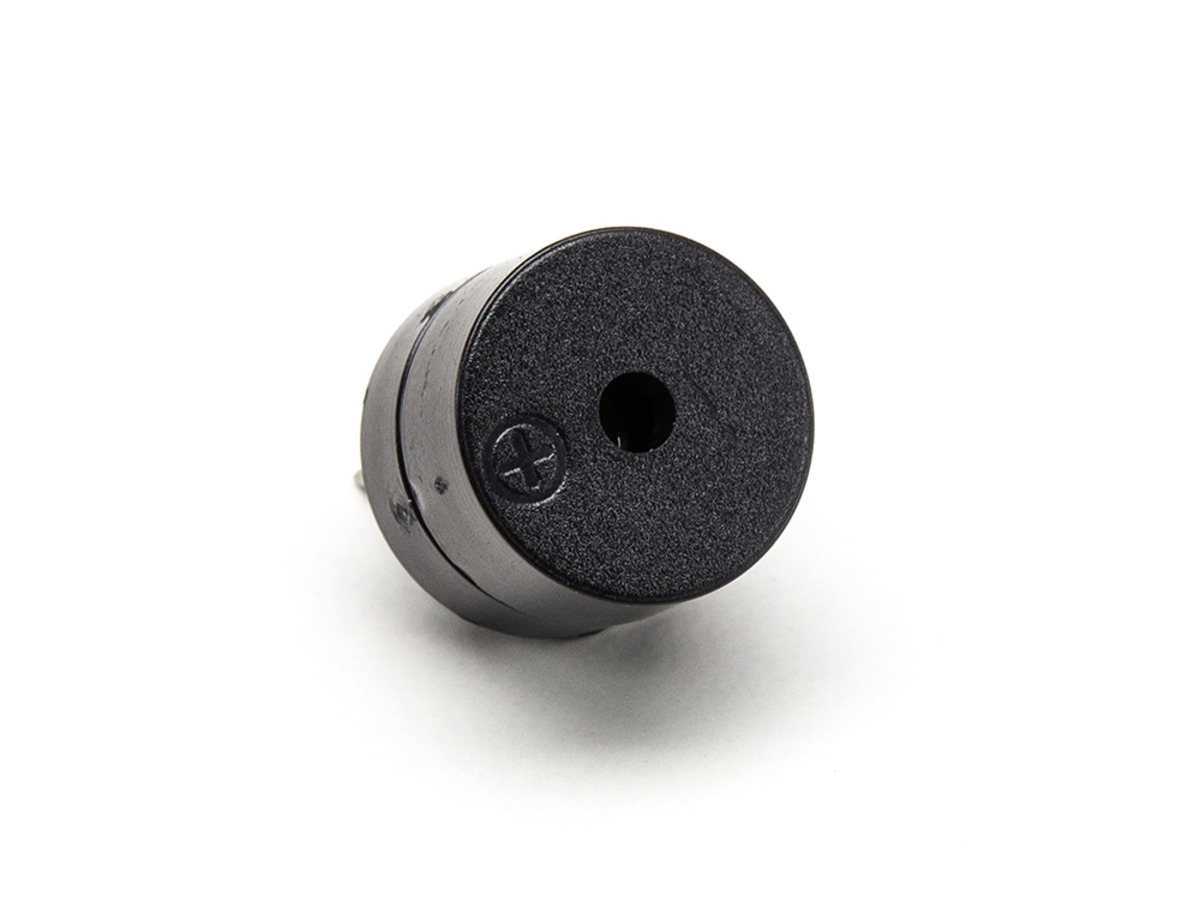
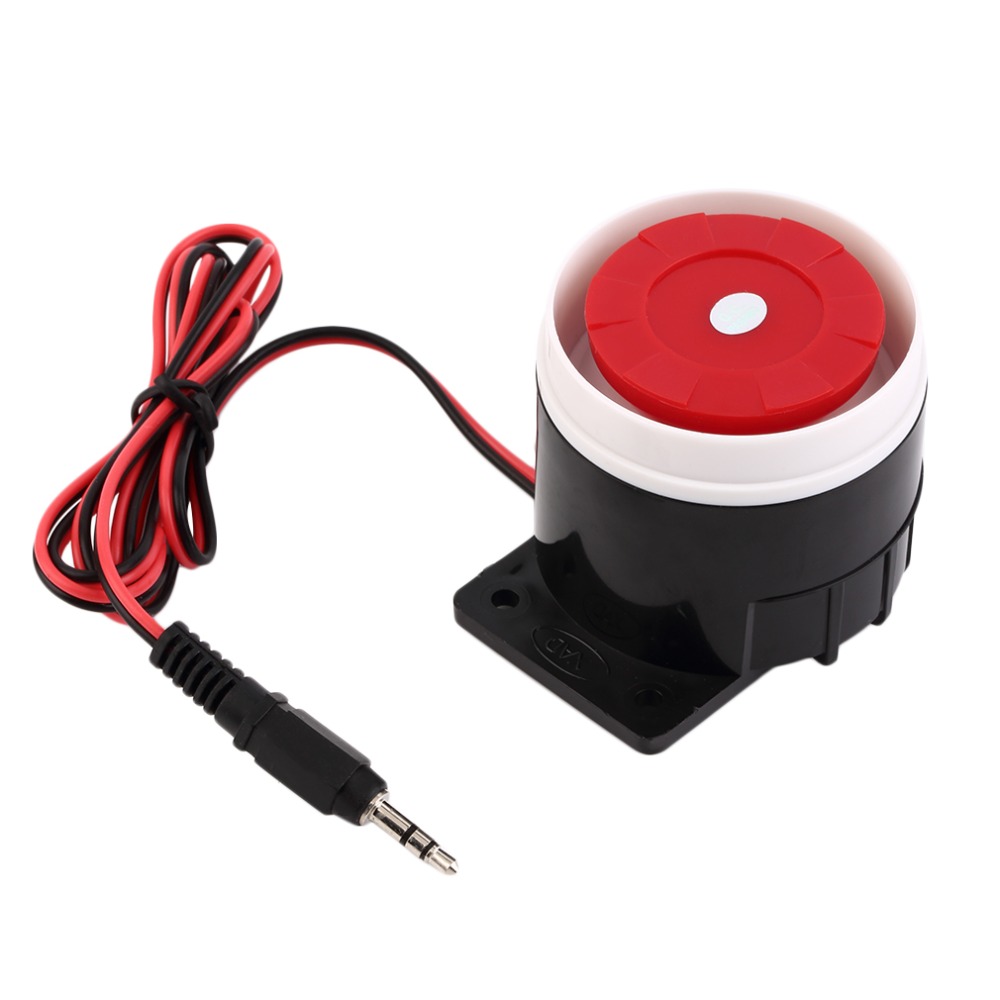
Active Buzzer – 5V BX1_COM22 ,R33
$ 0.31
DescriptionThis is a Buzzer device that you can embed into your project for audio signaling, Apply 5V to this buzzer module and you’ll be rewarded with a loud noise.FEATURESInput Voltage(Max.) : 5VResistance: 90 ΩResonance Frequency: 2048 HzSound pressure(dB(A)/10cm)min.: 80Body Size : 12 x 9.5mmPin Pitch: 6mmExternal Material: Plastic;Color: BlackGetting started with the Buzzer – 5VMaking sound on the Arduino is an interesting project, this con be accomplish using different modules and devices depending on your project and choices. In this project, we’ll be looking at the way you can make sound with a buzzer. Buzzer used by hobbyist come in two types: The active buzzer and the passive buzzer. For this project, we are going to be using an active buzzer. Check out my tutorial on using a passive buzzer.An active buzzer will generate a tone using an internal oscillator, so all that is needed is a DC voltage. To generate tone with an active buzzer, all you need is a DC voltage. Most active buzzer can be powered with 3-5V.An active buzzer can be controlled from an Arduino pin, very similar to the way you turn on and off an LED using digitalWrite.NOTE: Its not advisable to control the buzzer using analogWrite i.e. PWM.Hardware requiredArduino UNO5V BuzzerJumperBreadboardConnecting the HardwareArduino Uno BuzzerGND GND (The short leg)D5 Vcc (The long leg) Upload the Code#define buzzerPin 5void setup() {pinMode(buzzerPin,OUTPUT);}//The buzzer on for 1 second and off for 1 secondvoid loop() {delay(1000);digitalWrite(buzzerPin,HIGH);delay(1000);digitalWrite(buzzerPin,LOW);} RESULTS The buzzer will be on for 1 second and off for 1 second.






 Home
Home  Shop
Shop  Basket
  Account